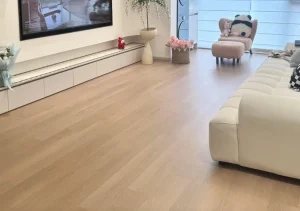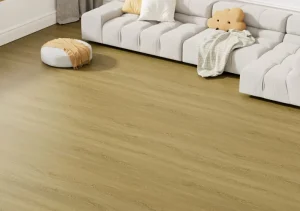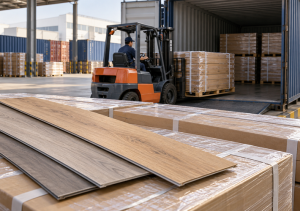
LuLuxury Vinyl Tile (LVT) flooring has become a popular choice for residential, commercial, and hospitality projects worldwide.
However, choosing the right LVT product is only the first step. Proper installation is equally important to ensure long-term stability and appearance.
As an experienced LVT flooring manufacturer, we have found that many installation issues are caused not by the flooring product itself, but by improper subfloor preparation, unsuitable installation methods, incorrect adhesive selection, or insufficient acclimation.
This guide explains the key aspects of LVT flooring installation, including:
- How to choose the right LVT installation system for different projects
- Preparation requirements before installation
- Glue-down and click LVT installation procedures
- Common mistakes and solutions
- Maintenance recommendations
Whether you are a contractor, distributor, or project developer, understanding proper installation practices can help you achieve better flooring performance and reduce unnecessary project risks.

Why Proper LVT Flooring Installation Matters
LVT flooring is designed for long-term performance in various environments, from residential homes to high-traffic commercial spaces. However, installation quality directly affects the final appearance, stability, and service life of the flooring.
Common issues caused by improper installation include:
| Problem | Possible Cause | Result |
|---|---|---|
| Gaps between planks | Uneven subfloor or incorrect installation | Reduced appearance and unstable joints |
| Edge lifting | Incorrect adhesive or poor bonding | Reduced durability |
| Surface imperfections | Dust, debris, or uneven substrate | Visible marks after installation |
| Floor movement | Incorrect installation conditions | Reduced overall stability |
| Floor buckling | Insufficient expansion allowance or installation conditions | Uneven surface and reduced stability |
Chapter 1: Choosing the Right LVT Installation System
Different LVT products require different installation methods. The right system depends on project requirements, traffic levels, and installation conditions.
Glue-Down LVT
- Permanently bonded to the subfloor
- Suitable for projects requiring maximum stability and long-term performance
Click LVT
- Installed with an interlocking system
- Suitable for projects requiring faster installation and easier replacement
Once the appropriate system is selected, proper preparation and installation procedures are essential for achieving long-term flooring performance.
Chapter 2: Preparation Before LVT Flooring Installation
Proper preparation is one of the most important factors in successful LVT flooring installation. Even premium LVT products may experience performance issues if the correct tools are not used or the subfloor is not properly prepared.
Essential Tools for LVT Flooring Installation
Professional installation starts with proper preparation. Using the right tools helps installers improve accuracy, efficiency, and final flooring quality.
| Tool | Purpose |
|---|---|
| Measuring tape | Measure room dimensions and calculate material requirements |
| Chalk line | Create straight reference lines for installation |
| Utility knife with hook blades | Cut LVT planks accurately |
| Straight edge / T-square | Guide precise cutting |
| Rubber mallet and tapping block | Protect and secure click-lock joints |
| Pull bar | Install the final row in tight areas |
| Spacers | Maintain required expansion gaps |
| Moisture meter | Check concrete subfloor moisture levels |
| Floor roller (for glue-down LVT) | Ensure full adhesive contact |
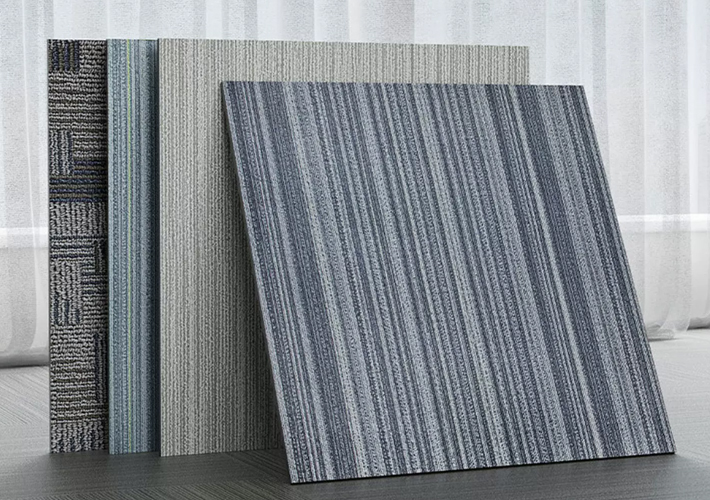
Subfloor Preparation: The Foundation of Successful Installation
The condition of the subfloor directly affects the appearance and long-term performance of LVT flooring.
Before installation, the surface should be:
- Clean
- Dry
- Flat
- Stable
Follow these key preparation steps:
1. Clean the Subfloor
Remove dust, dirt, grease, paint residue, wax, and construction debris.
Any particles left under the flooring may create uneven pressure points and become visible after installation.
2. Check Moisture Levels
Before installation, check concrete moisture levels to ensure they meet flooring and adhesive requirements, and apply suitable moisture protection measures if necessary. Excessive moisture can affect adhesive performance and long-term flooring stability.
3. Check Subfloor Flatness
The subfloor should be level and free from major uneven areas before installation. Proper subfloor flatness is especially important for Click LVT, as uneven areas may place stress on the locking system. If necessary, use a suitable leveling compound to repair low spots or surface imperfections before installation.
4. Allow Proper Acclimation
LVT flooring should be stored in the installation area before installation to allow the material to adjust to the environment.
Recommended conditions:
- Temperature: approximately 18–24°C (65–75°F)
- Relative humidity: 35–65%
- Acclimation time: usually 24–48 hours
Proper acclimation helps reduce movement, gaps, and dimensional changes after installation.
Need help selecting the right LVT structure for your project? Our technical team can recommend suitable solutions based on application, traffic level, and installation requirements.
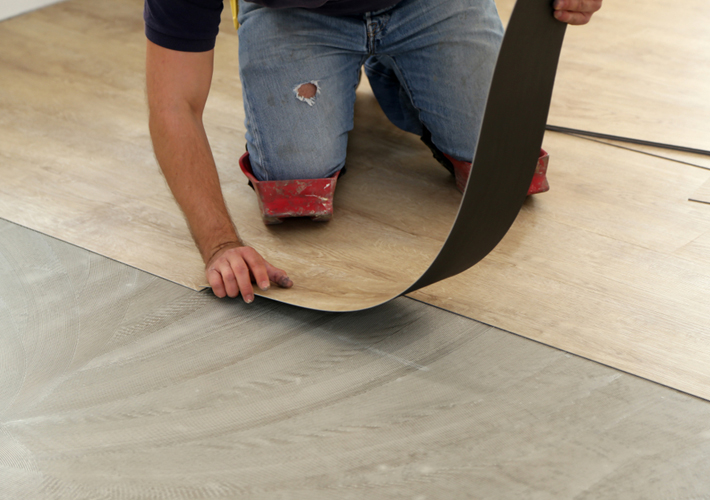
Chapter 3: Step-by-Step LVT Flooring Installation Guide
The installation process varies depending on whether you choose Glue-Down LVT or Click LVT. Once product selection and subfloor preparation are complete, follow the key procedures below to achieve stable and long-lasting performance.
Step 1: Plan the Layout Before Installation
Before installing LVT flooring, plan the layout carefully to ensure a balanced and efficient installation.
Follow these steps:
- Measure the room dimensions and calculate the required flooring area.
- Check the starting position and installation direction.
- Plan the plank arrangement to maintain a balanced appearance.
- Adjust the layout if the final row would be too narrow.
A proper layout plan helps reduce unnecessary cutting and creates a more professional finished result.
Step 2: Mark Reference Lines
After confirming the layout, create reference lines to guide the installation process.
Follow these steps:
- Use a chalk line to mark the starting position.
- Ensure the reference line is straight and aligned with the planned plank direction.
- Use additional reference lines for larger areas to maintain consistent alignment.
Reference lines help installers keep LVT planks properly positioned and maintain a consistent installation pattern throughout the project.sure consistent installation throughout the area.
Step 3: Install LVT Flooring Based on the Selected System
Option 1: Glue-Down LVT Installation
For Glue-Down LVT flooring:
- Apply a compatible adhesive according to the adhesive manufacturer’s instructions.
- Place the LVT planks carefully along the reference line.
- Press the flooring firmly to ensure proper contact.
- Use a floor roller to improve bonding and remove trapped air.
Important considerations:
- Do not apply more adhesive than can be covered within the adhesive open time.
- Allow sufficient curing time before heavy traffic.
Option 2: Click LVT Installation
For Click LVT flooring:
- Install the first row while maintaining the required expansion gap.
- Connect planks using the locking mechanism.
- Continue row by row while maintaining proper alignment.
- Use a tapping block and rubber mallet when necessary.
Important considerations:
- Ensure the subfloor is flat to prevent stress on the locking system.
- Maintain expansion gaps around walls and fixed objects.
- Stagger end joints between rows for better appearance and stability.
Step 4: Complete Final Installation Details
After the main installation is completed:
- Install transition profiles where LVT connects with other flooring materials.
- Remove spacers and install baseboards or finishing trims where required.
These final details improve the finished appearance, protect flooring edges, and help ensure long-term performance.
Chapter 4: Common Installation Risks and Cost Considerations for LVT Projects
Even with high-quality LVT flooring, incorrect installation practices can lead to performance issues. Based on installation feedback from our global customers and technical support experience, we have identified the following common mistakes that may affect flooring performance.
5 Common Installation Mistakes
| Mistake | Why It Happens | Solution |
|---|---|---|
| Skipping moisture testing | Assuming the concrete is already dry | Always check moisture levels before installation |
| Ignoring subfloor unevenness | Trying to save preparation time | Check and level the substrate before installation to ensure a stable foundation |
| Using unsuitable adhesive | Choosing based only on price | Use adhesive compatible with the LVT product |
| Rushing acclimation | Project schedule pressure | Allow sufficient acclimation time before installation |
| Installing over unsuitable existing flooring | Avoiding removal work | Remove loose or damaged existing flooring first |
Proper preparation may require additional time at the beginning of a project, but it helps prevent expensive repairs and installation failures later.
Material Planning Considerations for LVT Projects
Proper material planning is also an important part of successful LVT installation. Preparing sufficient additional materials for cutting, installation adjustments, and future repairs can help reduce project delays and avoid unnecessary costs.
Chapter 5: LVT Flooring Maintenance After Installation
A professional installation should be followed by proper maintenance to maximize the service life, appearance, and performance of LVT flooring.
Daily Maintenance
- Sweep or vacuum regularly to remove dust and abrasive particles
- Use entrance mats in high-traffic areas to reduce dirt and grit
- Use furniture pads under heavy furniture to reduce indentation risks.
Regular Cleaning
- Use a damp mop with an LVT-compatible, pH-neutral cleaner
- Avoid excessive water accumulation on the surface
- Clean spills as soon as possible
Avoid
- Steam cleaners
- Abrasive cleaning products
- Wax or polishing products not designed for LVT flooring
- Rough scrub pads that may damage the surface
For Click LVT, damaged planks can usually be replaced individually. For Glue-Down LVT, damaged sections can also be repaired with proper replacement procedures.
Frequently Asked Questions About LVT Flooring Installation
1. Can LVT flooring be installed over concrete?
Yes. LVT can be installed over concrete as long as the substrate is clean, dry, flat, and properly prepared. Moisture testing should always be completed before installation.
2. Does Click LVT require underlayment?
It depends on the product structure. Many Click LVT products include attached underlayment, while others may require a separate approved underlayment.
Always follow the product manufacturer’s recommendations.
3. How long does glue-down LVT need before use?
In most cases, light foot traffic is allowed after approximately 24–72 hours, depending on the adhesive type and site conditions.
4. Can LVT flooring be installed in bathrooms?
Yes. LVT is suitable for bathrooms, kitchens, and other moisture-prone areas due to its waterproof properties. Proper subfloor preparation is still required.
For more information about LVT flooring products, installation methods, and technical questions, visit our FAQs page or contact our team for professional guidance.
Conclusion: Work with an Experienced LVT Flooring Manufacturer
Successful LVT flooring projects require more than choosing the right design. Product quality, installation guidance, and reliable technical support all play an important role in achieving long-term performance.
As an experienced LVT flooring manufacturer, we provide:
- Factory-direct LVT flooring solutions
- Technical support for product selection and installation
- Customized designs and specifications for different projects
- Strict quality control with SGS testing and EU REACH compliance support
Whether you are a contractor, distributor, or project developer, choosing an experienced LVT manufacturer can help reduce risks and improve project success.
Contact our export team today for LVT samples, technical support, and customized flooring solutions.